Table of Contents
Creating an LCD I2C Driver for the Core MCU Framework
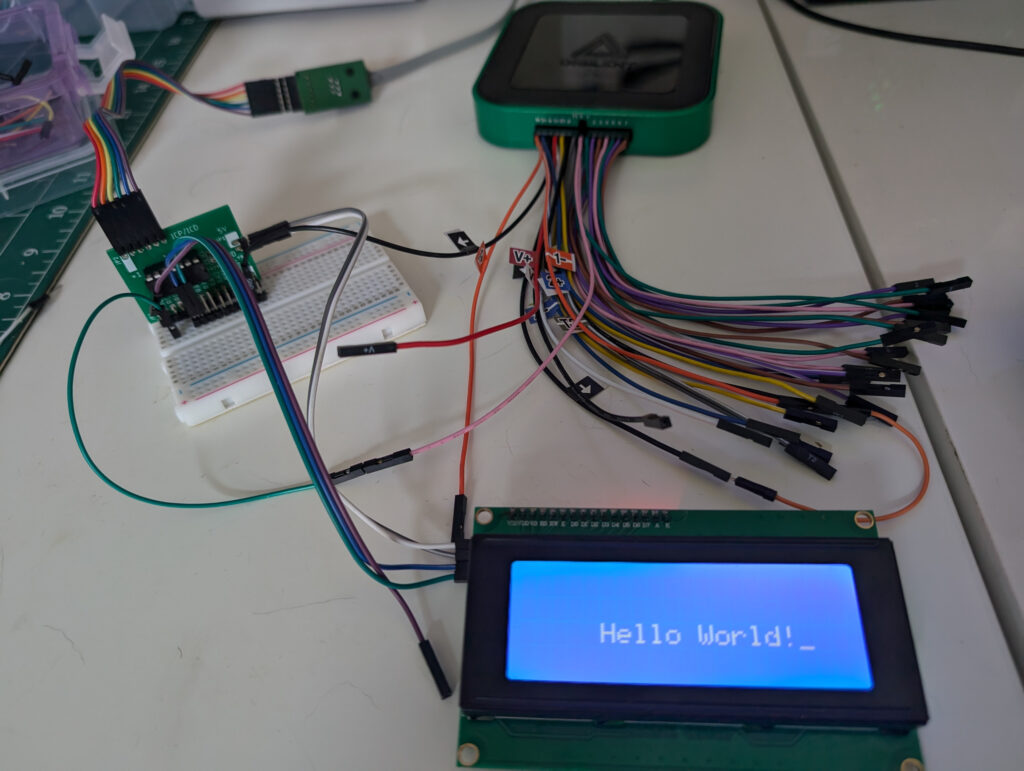
Working with an LCD display can really add a new layer of interaction to your microcontroller projects. In this post, I’ll walk you through the process I used to create an LCD I2C driver for the Core MCU Framework. The LCD display I used is a 2004 LCD (20 characters by 4 lines), and it’s driven by an I2C interface. The driver will also work with the 16 x 2 version as well.
A Quick Look at the Hardware
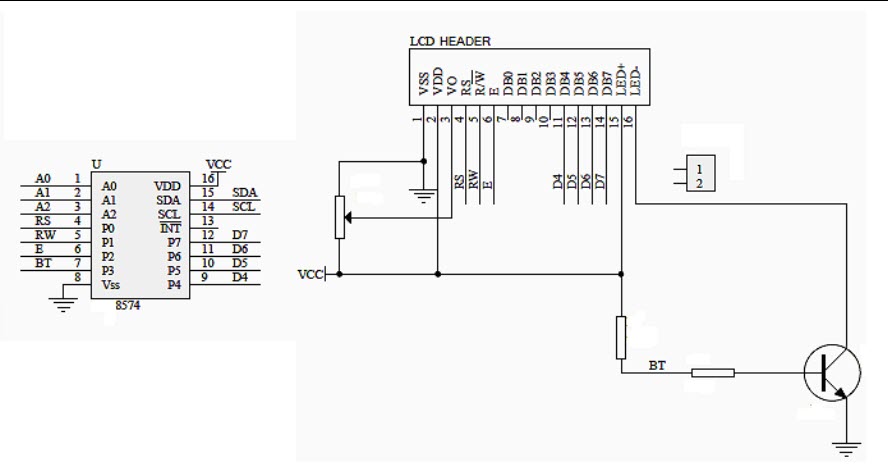
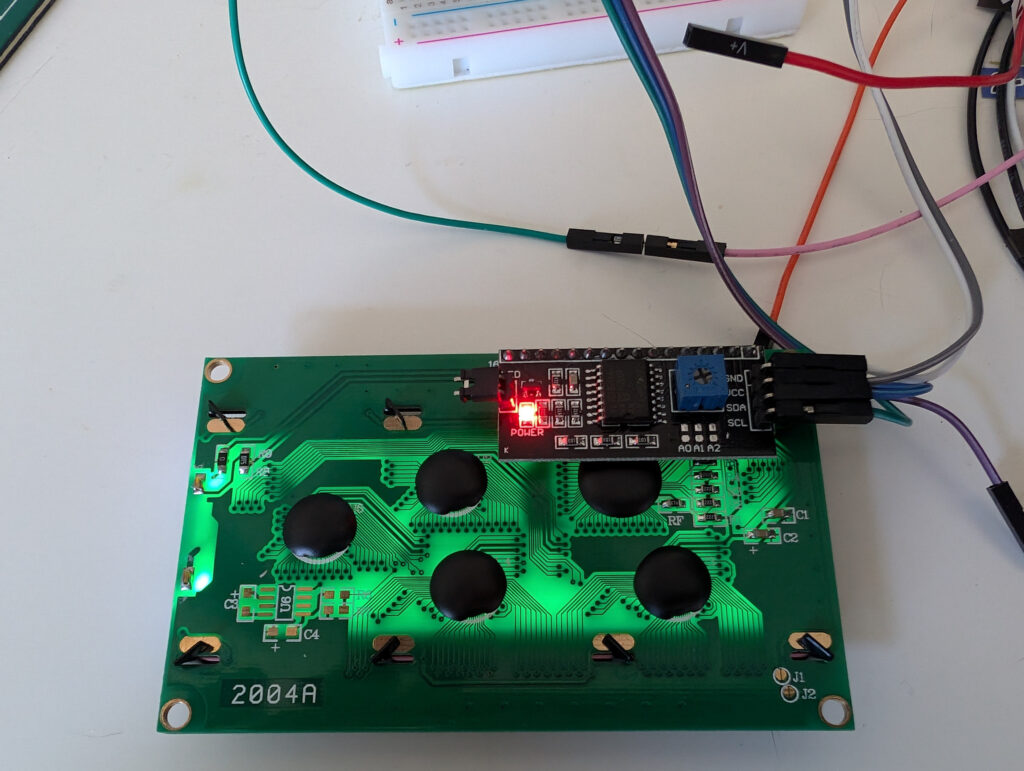
For this project, I used an LCD module with the HD44780 driver. The interface relies on an I2C serial connection, specifically the PCF8574 or PCF8574A chip, which acts as an I/O expander. Now, one thing to note—depending on which version of the chip you’re using, the default I2C address may be different:
- PCF8574T has an address of 0x27.
- PCF8574AT uses 0x3f as its default address.
Before you do anything, it’s a good idea to check the I2C address of your display to avoid headaches later on. The beauty of the I2C interface is how it simplifies things. With just two lines—SDA and SCL—you’re controlling the whole display.

The Driver in Action
While the HD44780 can operate in 8-bit or 4-bit mode, when you’re using the I2C interface, you’re locked into 4-bit mode. The I2C expander sends data to the LCD in two 4-bit chunks, using pins D4 to D7.


So, what does the driver do? Well, it handles all the key functions:
- Initializing the display: This sets the LCD in 4-bit mode and preps it to receive commands.
- Sending data: The driver manages the timing and ensures commands are correctly sent over I2C.
- Basic operations: Things like clearing the display, setting the cursor position, and writing characters or strings to the screen are all covered.
Making Sure the Address is Right
One of the most important things to get right is the I2C address. In the driver, there’s a function to check if the address is valid before communication starts. This avoids a lot of frustration, especially when you’re working with multiple devices on the same I2C bus.
Wrapping It All Together
The LCD I2C driver I built simplifies how you communicate with the display, reducing the wiring while still giving you full control. From initializing the screen to managing characters, strings, and even the backlight, it’s all there. Whether you’re just adding a basic display to a project or working on something more advanced, using I2C with an LCD brings flexibility and ease to your design.
In a post coming up I will use the LCD display to display temperature.
Core MCU Framework Information
Documentation – Knowledge Base For Core MCU Framework
Need a Creator Alchemist on Your Project?
I’m available for hire—consulting, systems design, embedded tech, creative problem-solving, or anything in between.
If you’ve got a project that needs someone who can think it through and build it out, I’m interested.
👉 Let’s Talk
jamie@jamiestarling.com
