Streamlining Your MCU Designs with POGO Pins
What Are POGO Pins?
POGO pins, or spring-loaded pins, are small connectors designed for temporary connections. Each pin is made up of a plunger, barrel, and spring mechanism that presses the pin against a contact point. This design makes them ideal for situations where you need a secure yet temporary connection, like programming or testing an MCU.
Why Consider POGO Pins for Your Projects?
- Convenient Testing:
POGO pins make it easy to test and debug your designs. By creating a jig with POGO pins that align with specific points on your PCB, you can quickly establish reliable connections without needing to solder or add connectors. - Avoids Damage to Your PCB:
Soldering and desoldering connections or frequently plugging and unplugging cables can wear out your components or PCB pads. POGO pins eliminate this wear by providing contact without permanent alterations to your board. - Ideal for Prototypes:
Prototyping often involves making adjustments on the fly. Using POGO pins with test pads on your PCB lets you debug, reprogram, or monitor your MCU without adding headers or making permanent changes to the design. - Great for Production:
In a manufacturing environment, POGO pins are perfect for creating test fixtures that can quickly and consistently connect to multiple boards for programming or quality control checks.
How to Use POGO Pins in Your Design
- Add Test Pads to Your PCB Layout:
Make sure your PCB design includes test pads or vias for the POGO pins to make contact. These should be large enough to ensure alignment during testing. - Build a Custom Jig:
Design a jig that holds the POGO pins securely in place and aligns with the test points on your PCB. This can be as simple as a 3D-printed fixture or as precise as a CNC-machined plate. - Select the Right POGO Pins:
Choose pins that match the size of your test pads and have the right spring force to ensure good contact without damaging the board. - Optimize for Signal Quality:
When testing high-speed signals, keep the test points near their associated components and ensure good grounding to minimize interference.
Everyday Uses
- Firmware Development: Use POGO pins to easily program and debug your MCU without permanently attaching headers.
- Production Testing: Speed up quality checks and programming on multiple units with a POGO pin test fixture.
- Temporary Power Connections: Provide power to your project without soldering, allowing flexibility during development.
Tips for Success
- Keep Pads Clean: Ensure your test pads are free of dirt, solder, or oxidation for the best connections.
- Add Alignment Guides: Use alignment pins or guides in your jig to make sure your PCB lines up correctly with the POGO pins.
- Plan for Test Points Early: Even if you don’t expect to need them, including test points in your design gives you flexibility for debugging later.
POGO pins are a simple and effective tool for anyone working with MCUs. Whether you’re prototyping or working on a production run, they can save you time and effort while reducing wear and tear on your boards.
If you haven’t tried incorporating POGO pins into your workflow, now’s a great time to start. A small adjustment to your design process can make a big difference in your development efficiency!
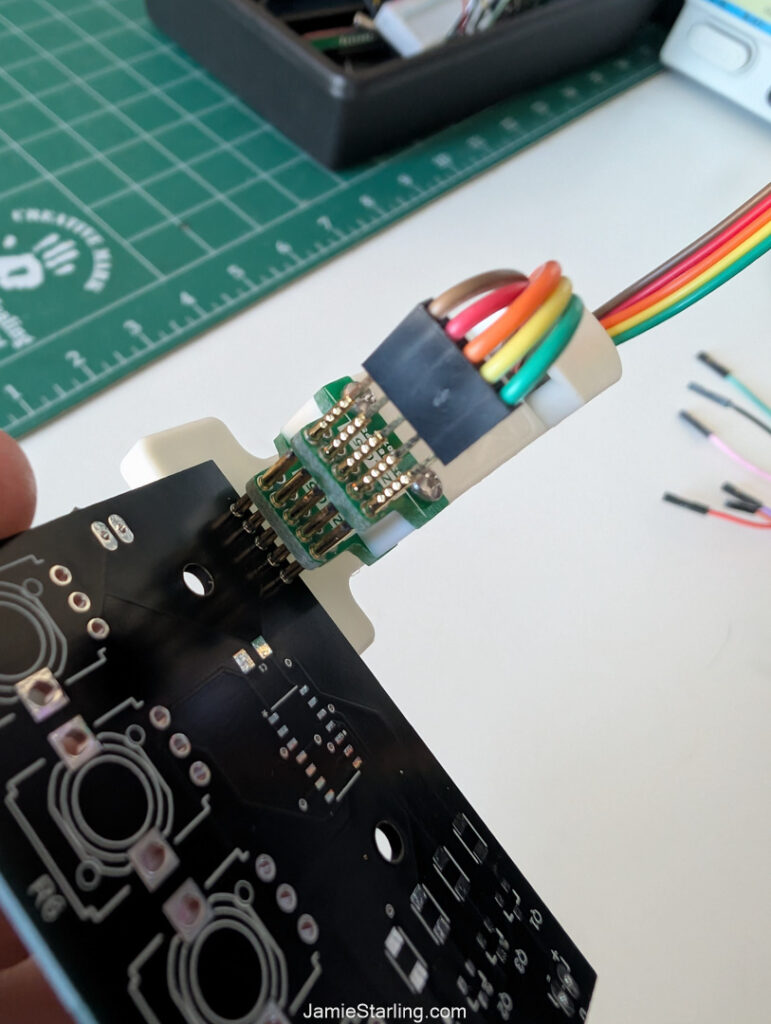
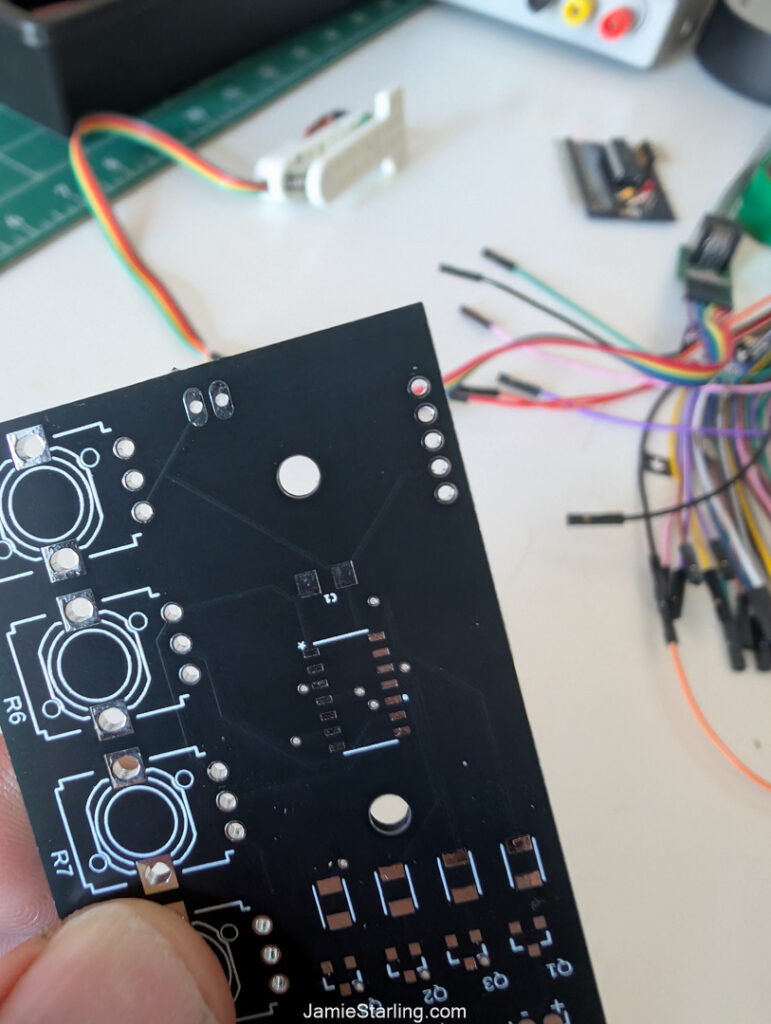
POGO Pins on A project I am working on.


Need a Creator Alchemist on Your Project?
I’m available for hire—consulting, systems design, embedded tech, creative problem-solving, or anything in between.
If you’ve got a project that needs someone who can think it through and build it out, I’m interested.
👉 Let’s Talk
jamie@jamiestarling.com
