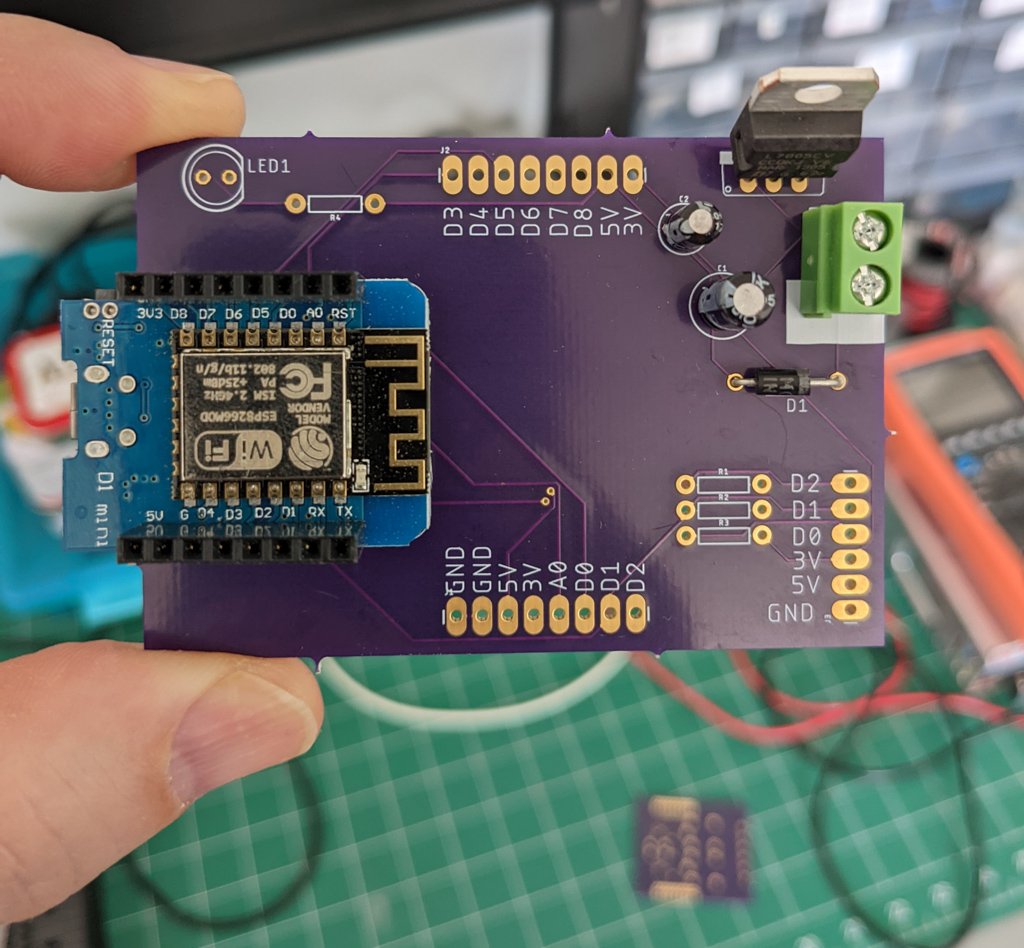
My automation project is continually evolving, and I’m excited to share the latest advancements in my localized IoT setup. The image below shows the IoT Node Base, which includes a power regulator and is built around the ESP8266, specifically the Wemos D1 Mini.
Here is an image of what one of the sensor/display nodes looks like now.

Overview of the IoT Node Base
Basic Sensor Node
A basic sensor node consists of the IoT Node Base and a sensor. The IoT Node Base features the following:
- Power Regulator: Ensures stable power supply to the components.
- ESP8266 (Wemos D1 Mini): Acts as the main controller for the node.
Advanced Sensor Node
An advanced sensor node expands on the basic setup by including an additional expansion board. This board plugs into the back of the IoT Node Base and can serve various purposes:
- Advanced Sensor Integration: Incorporate more complex sensors for enhanced data collection.
- Actuator Control: Manage different functions like relays, PWM (Pulse Width Modulation), and accept inputs from buttons or other control interfaces.
- Accept Inputs: Interface with buttons, switches, and other control devices.
Actuator Boards
Actuator boards enable nodes to control various functions and interact with the environment. These boards can:
- Control Relays: Switch high-power devices on and off.
- Manage PWM Signals: Control the brightness of LEDs, motor speeds, and more.
Display Nodes
Display nodes are similar to the basic and advanced sensor nodes but are designed to connect to a 4×20 LCD display. These nodes can also accept actuator expansion boards, providing both display capabilities and control functions. This setup is ideal for monitoring and interacting with the system in real-time.
Communication and Data Handling
The nodes communicate using the MQTT protocol, a lightweight messaging protocol perfect for IoT applications. Here’s a breakdown of the communication setup:
- ESP8266 (Wemos D1 Mini): Each node is based on this WiFi-enabled microcontroller, ensuring seamless connectivity.
- MQTT Protocol: Facilitates communication between nodes and the central server. Each node sends sensor data in JSON format and receives control commands via MQTT.
- RabbitMQ Server: Acts as the central communication hub, running the MQTT plugin to handle message distribution.
Configuration and Setup
The configuration for each node is loaded through a JSON document via the serial port when setting up new devices. This document includes network settings and other necessary configurations.
Future Enhancements
I plan to finalize the base sensor design, which will include:
- Power Supply Integration: Ensuring reliable and efficient power delivery to all components.
- Modular Sensor and Actuator Extensions: Developing additional boards that can be easily added to the base node for enhanced functionality.
Current test sensors are equipped with temperature probes that send readings when there is a 0.5°C change (configurable). A Python script running on a dedicated machine subscribes to the sensor’s MQTT topic and records the temperature data to a CSV file.
Conclusion
By leveraging the ESP8266, JSON, and MQTT, my localized IoT project aims to create a robust and flexible automation system. The modular design of the nodes allows for easy expansion and customization, ensuring that the system can adapt to various needs and applications. This setup provides a scalable solution for both personal and commercial IoT applications, enhancing automation and data management capabilities.
Need a Creator Alchemist on Your Project?
I’m available for hire—consulting, systems design, embedded tech, creative problem-solving, or anything in between.
If you’ve got a project that needs someone who can think it through and build it out, I’m interested.
👉 Let’s Talk
jamie@jamiestarling.com
